%20--%3e%3cdefs%3e%3cstyle%3e%20.st0%20{%20fill:%20%23ff1230;%20}%20.st1%20{%20fill:%20%23fff;%20}%20%3c/style%3e%3c/defs%3e%3cpath%20class='st0'%20d='M49.77,34.93l3.47-5.3,23.2-5.86,4.03-6.07-23.14,5.83,3.55-5.33,23.17-5.84,3.96-6.05-23.07,5.8,3.59-5.52-23.16,5.83,3.68-5.68-19.8,4.98c-2.49.63-4.65,2.16-6.07,4.3l-1.81,2.75,20-5.03c.7-.18,1.49-.1,1.75.21.21.25.09,1.12-.24,1.61l-1.85,2.7-19.34,4.87c-2.48.62-4.64,2.15-6.06,4.29l-1.82,2.75,20.12-5.04c.7-.18,1.53.11,1.64.48.09.31-.06,1.12-.4,1.6l-1.79,2.51-19.21,4.82c-2.51.63-4.69,2.19-6.11,4.36l-1.75,2.69,20.19-5.08c1.67-.25,1.96.77,1.1,2.08l-1.9,2.89,19.51-4.94c1.49-.38,2.88,0,1.87,1.62l-1.88,3.01,24.65-6.19,3.01-5.82-23.07,5.79ZM60.94,13.54c.53-.13,1.35.11,1.52.37.19.28-.02,1.14-.37,1.66l-1.73,2.56-22.57,5.67,3.51-5.31,19.64-4.95ZM30.19,35.24l3.49-5.33,19.75-4.95c1.34-.34,1.92.7,1.23,1.76l-1.83,2.83-22.65,5.7Z'/%3e%3cpath%20class='st1'%20d='M236.44,40.24l22.56-33.95h10.5l-22.56,33.95h-10.5Z'/%3e%3cpath%20class='st1'%20d='M368.54,15.18l5.9-8.88h-52.48l-5.64,8.49-3.45,5.19-5.01,7.54h0s40.4,0,40.4,0l-2.82,4.24h-72.13c-2.23,0-3.07-1.46-1.87-3.27l9.11-13.71h29.5l5.95-8.49h-40.31l-5.64,8.49-9.61,14.46c-.36.55-.67,1.08-.92,1.61-.15.31-.28.61-.39.9-1.52,4.06.3,7.25,4.69,8.2.48.1.99.18,1.54.23.44.04.9.06,1.38.06h85.14l8.46-12.73,5.24-7.89h-40.45l2.95-4.44h40.45Z'/%3e%3cpath%20class='st1'%20d='M198.16,6.32c-.19,0-.37-.03-.56-.03h-60.45l-37.03,26.63h-19.71l18.01-26.63h-10.5l-17.48,26.31c-2.17,3.27.17,7.64,4.09,7.64h28.01l37.22-25.46h6.27l-16.92,25.46h10.51l16.92-25.46h27.83l-.02.04h7.11c1.89.18,2.56,1.55,1.44,3.23l-1.3,1.96c-1.2,1.8-3.98,3.27-6.21,3.27h-25.26l-11.28,16.98h10.5l5.64-8.49h15.69c.48,0,.96-.02,1.45-.06.61-.05,1.22-.12,1.84-.23,5.65-.95,11.72-4.14,15.59-8.2.02-.02.04-.04.06-.06.74-.78,5.18-7.47,5.57-8.39h17.48l-16.94,25.49h10.51l16.94-25.49h14.98l5.65-8.5h-55.64Z'/%3e%3c/svg%3e)
How Reiza's Tire Model in Automobilista 2 Reveals Errors Other Sims Hide
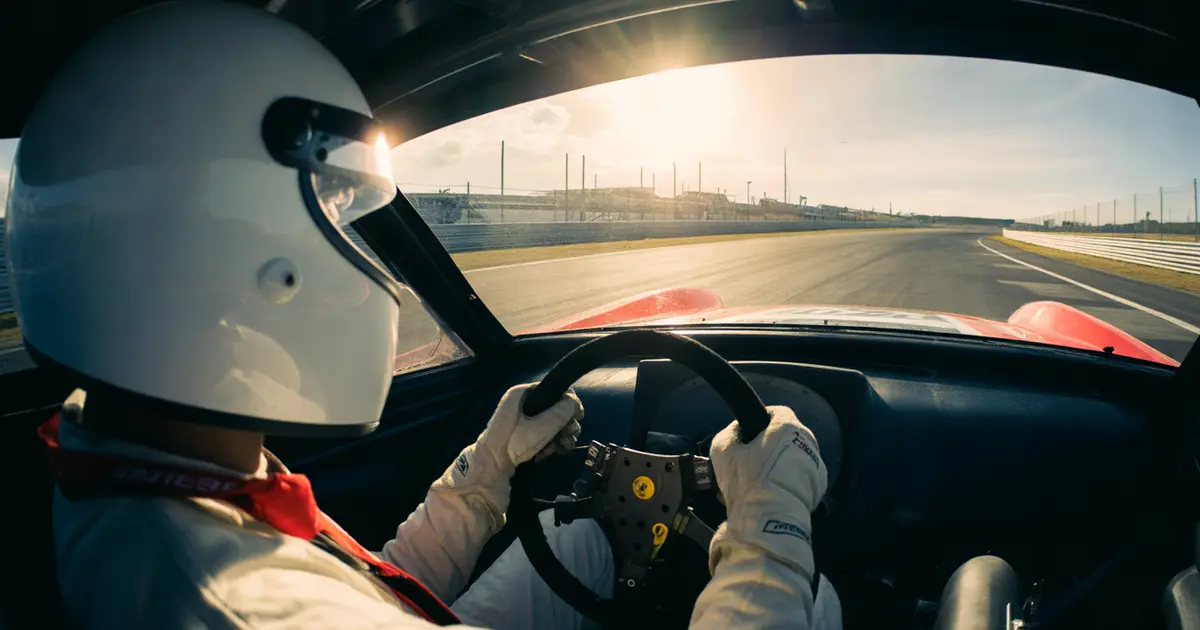
Reiza's tire separates carcass temperature from surface temperature. This makes driving errors show up in grip within a few laps, not ten.
Reiza's tire model in Automobilista 2 separates carcass temperature from tire surface temperature. This separation makes a driving error — mis-timed braking, sustained lateral load, pressure out of range — show up as a grip drop within a few laps.
In sims with a simpler thermal model, the same error stays hidden behind a single temperature layer, which takes longer to flag the problem. The driver keeps making the same move thinking everything is fine.
Two temperatures, not one
The carcass heats up slowly. It builds up heat over several corners and only cools down with straight-line time or a pause in load. The surface heats up and cools down fast, corner by corner, reacting directly to what the wheel and pedal do at that instant.
When a sim blends both into a single number, the driver sees an “average” temperature that masks what is happening inside the tire. In Reiza's model, if the carcass is climbing past the ideal while the surface has already cooled, that is a sign of structural wear that will show up in grip soon — even if the surface thermometer looks normal.
Where this shows up on the wheel
The most common symptom is the outer front tire losing response at the end of a sequence of fast corners, even without any visible lockup. The carcass built up lateral load without unloading, and grip drops sooner than expected.
Another pattern is the car getting unstable at the rear after trail braking longer than necessary. This connects directly to how to release the brake in proportion to steering input: the wrong move doesn't lock the wheel, but it heats the carcass in a way that only shows up two or three corners later.
Errors the model exposes sooner
- Trail braking too long: keeps load on the front for longer than needed and heats the carcass without giving it a chance to unload between corners.
- Starting pressure out of range: creates a mismatch between surface heating and carcass heating that only becomes visible after a few laps into the stint.
- Excessive negative camber: concentrates the work on the outer edge of the tire and makes the surface temperature climb much faster than the carcass.
- Sustained lateral load without unloading: long corners taken without a single moment of steering relief push the carcass past the ideal range.
- Correcting oversteer with abrupt throttle: increases rear slip at a moment when the carcass is already at its limit, speeding up grip loss for the whole stint.
Symptom and cause: how to read what the tire is telling you
| Symptom | Likely cause | Channel to check |
|---|---|---|
| Front grip drops after 5-6 laps | Carcass heating past ideal from long trail braking | Carcass temp. vs front surface temp. |
| Rear lets go without warning in a fast corner | Camber or pressure causing a surface spike detached from the carcass | Inner/outer difference on the rear tire |
| Outer front wilts fast on a quick track | Sustained lateral load without an unload pause | Average slip angle per corner |
How this changes by car and by track
A car with wide tires and a wing, like a GT3, tolerates more lateral load before the carcass flags the error — the warning window is short, but it exists. A car with narrow tires and little aerodynamics, like Formula Vee or Reiza's lightweight prototypes, shows the bill almost on the very next lap, because the carcass has less rubber mass to absorb the excess.
A track with long, fast corners, like Interlagos in the back straight sector, penalizes sustained lateral load more. A track with heavy hard braking, like the braking zone at Lake Descent in a GT3 car, penalizes poorly judged trail braking more. The diagnosis moves location, it doesn't disappear.
The tire model doesn't forgive poorly judged trail braking: it shows the bill on the very next lap, not back on lap ten.
How to validate this in your own data
- Isolate a five-lap stint with no tire change and no pit stop, under stable track conditions.
- Compare the first and last lap of the stint looking at perceived grip, not just lap time — a feeling of late understeer is the signal.
- Mark the exact point where the car's behavior changes, corner by corner, not lap by lap.
- Cross that point with the move you made there: longer braking, steering correction, earlier throttle.
- Repeat the stint adjusting one move at a time to confirm whether the symptom changes with the cause you identified.
If the symptom disappears without you changing anything in the setup, the problem was driving, not the tire. This connects directly to knowing if you are destroying the front tire too early and to adjusting pressure by operating temperature before touching anything else.
Where this usually goes wrong
The common mistake is changing the setup before confirming the cause. Lower pressure can mask a driving problem for an entire race and come back on the next track with a different corner profile.
Another mistake is looking only at the average tire temperature on the HUD and ignoring the difference between carcass and surface. For those who already know which three channels to check first in telemetry, adding this comparison is the natural next step.
Where Laptics comes in
Laptics records telemetry on its own while you race in Automobilista 2 and compares your laps by corner phase, showing how much each move costs. The Driver DNA flags whether the lateral load or braking pattern repeats stint after stint — the part the eye alone takes too long to notice.
Practical summary
Reiza's tire model separates carcass and surface, and that makes driving errors show up faster in available grip. Isolate the stint, mark the exact point of behavior change, test one move at a time before touching the setup.
Frequently asked questions
Is Reiza's tire model more realistic than other sims?
It's more granular on the thermal side, because it separates carcass and surface. Full realism depends on many other variables, but this specific separation exposes driving errors sooner.
Why does my car become unstable only after a few laps in AMS2?
Likely the carcass built up load beyond ideal while surface temperature still looked normal. That's a sign of long trail braking or sustained lateral load without unloading.
Does adjusting pressure fix this kind of grip drop?
Sometimes it masks the symptom for one track, but if the cause is driving the problem comes back on another layout. It's worth confirming the cause before touching the setup.
Is this behavior the same across all Automobilista 2 cars?
No. Cars with wide tires and more aerodynamics tolerate more load before flagging the error; cars with narrow tires show the drop almost on the very next lap.
How do I know if the problem is the tire and not the setup?
Isolate a five-lap stint, change one driving move at a time and see if the symptom changes. If it disappears without altering the setup, it was driving.
Does Laptics work with Automobilista 2?
Yes. Telemetry capture is automatic while you race, and the analysis compares your laps by corner phase to show where time is being lost.
Want to see this in your own telemetry?
I want to see my AMS2 data