%20--%3e%3cdefs%3e%3cstyle%3e%20.st0%20{%20fill:%20%23ff1230;%20}%20.st1%20{%20fill:%20%23fff;%20}%20%3c/style%3e%3c/defs%3e%3cpath%20class='st0'%20d='M49.77,34.93l3.47-5.3,23.2-5.86,4.03-6.07-23.14,5.83,3.55-5.33,23.17-5.84,3.96-6.05-23.07,5.8,3.59-5.52-23.16,5.83,3.68-5.68-19.8,4.98c-2.49.63-4.65,2.16-6.07,4.3l-1.81,2.75,20-5.03c.7-.18,1.49-.1,1.75.21.21.25.09,1.12-.24,1.61l-1.85,2.7-19.34,4.87c-2.48.62-4.64,2.15-6.06,4.29l-1.82,2.75,20.12-5.04c.7-.18,1.53.11,1.64.48.09.31-.06,1.12-.4,1.6l-1.79,2.51-19.21,4.82c-2.51.63-4.69,2.19-6.11,4.36l-1.75,2.69,20.19-5.08c1.67-.25,1.96.77,1.1,2.08l-1.9,2.89,19.51-4.94c1.49-.38,2.88,0,1.87,1.62l-1.88,3.01,24.65-6.19,3.01-5.82-23.07,5.79ZM60.94,13.54c.53-.13,1.35.11,1.52.37.19.28-.02,1.14-.37,1.66l-1.73,2.56-22.57,5.67,3.51-5.31,19.64-4.95ZM30.19,35.24l3.49-5.33,19.75-4.95c1.34-.34,1.92.7,1.23,1.76l-1.83,2.83-22.65,5.7Z'/%3e%3cpath%20class='st1'%20d='M236.44,40.24l22.56-33.95h10.5l-22.56,33.95h-10.5Z'/%3e%3cpath%20class='st1'%20d='M368.54,15.18l5.9-8.88h-52.48l-5.64,8.49-3.45,5.19-5.01,7.54h0s40.4,0,40.4,0l-2.82,4.24h-72.13c-2.23,0-3.07-1.46-1.87-3.27l9.11-13.71h29.5l5.95-8.49h-40.31l-5.64,8.49-9.61,14.46c-.36.55-.67,1.08-.92,1.61-.15.31-.28.61-.39.9-1.52,4.06.3,7.25,4.69,8.2.48.1.99.18,1.54.23.44.04.9.06,1.38.06h85.14l8.46-12.73,5.24-7.89h-40.45l2.95-4.44h40.45Z'/%3e%3cpath%20class='st1'%20d='M198.16,6.32c-.19,0-.37-.03-.56-.03h-60.45l-37.03,26.63h-19.71l18.01-26.63h-10.5l-17.48,26.31c-2.17,3.27.17,7.64,4.09,7.64h28.01l37.22-25.46h6.27l-16.92,25.46h10.51l16.92-25.46h27.83l-.02.04h7.11c1.89.18,2.56,1.55,1.44,3.23l-1.3,1.96c-1.2,1.8-3.98,3.27-6.21,3.27h-25.26l-11.28,16.98h10.5l5.64-8.49h15.69c.48,0,.96-.02,1.45-.06.61-.05,1.22-.12,1.84-.23,5.65-.95,11.72-4.14,15.59-8.2.02-.02.04-.04.06-.06.74-.78,5.18-7.47,5.57-8.39h17.48l-16.94,25.49h10.51l16.94-25.49h14.98l5.65-8.5h-55.64Z'/%3e%3c/svg%3e)
Trail Braking: How to Release the Brake in Proportion to Steering
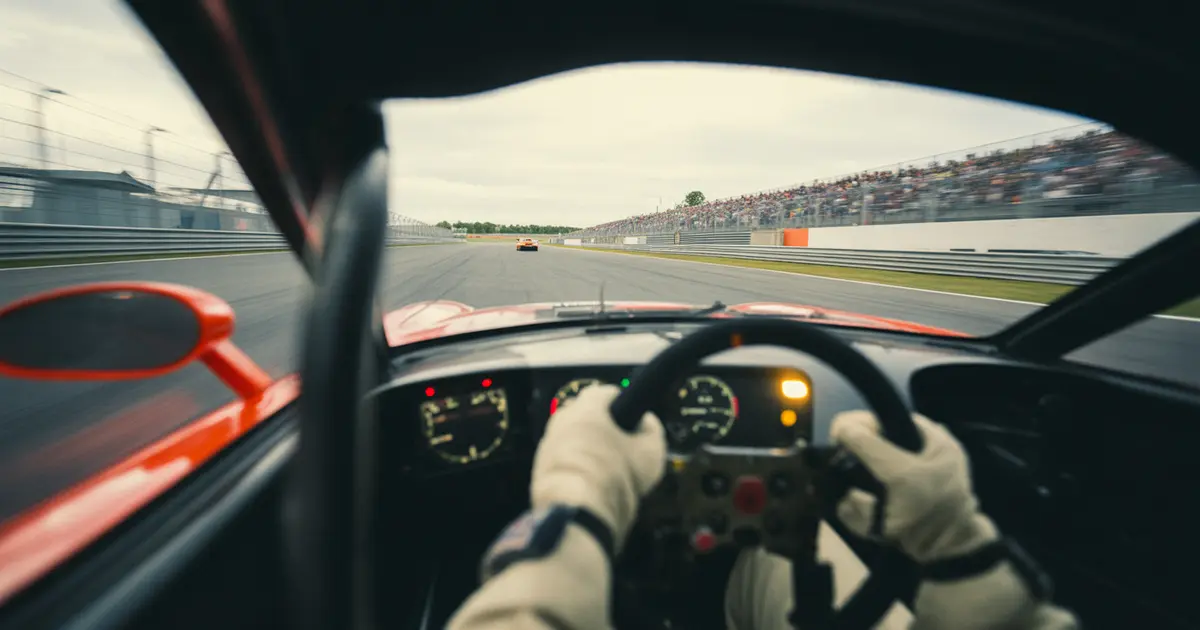
Trail braking isn’t about braking late. It’s about releasing the brake at the same rate the wheel demands grip. See where to diagnose it in the data and what to train tomorrow.
The car gets nervous the moment you start turning the wheel under braking. Or the opposite: you release the brake too early and feel like you lost the corner before even reaching the apex. Both symptoms point to the same problem — the proportion between releasing the brake and increasing steering angle is wrong.
Well-executed trail braking isn’t a technique of courage. It’s a transfer curve: the more you turn the wheel, the less brake pressure the front tire can handle without exceeding available grip. This changes from car to car and from corner to corner.
What “proportion” really means
There’s a combined grip limit on the front tire — part of it is used for braking, part for generating lateral force. When you increase steering angle, you’re asking for more lateral force. If brake pressure doesn’t drop by the same amount, you exceed that limit.
The result is always one of two things: the front locks up and the car won’t turn (understeer), or the rear loses load through weight transfer and the car gets loose on entry. The right proportion is the one that keeps total tire usage constant — not the one that releases the brake faster or slower.
Where to look in the data
Two channels solve this diagnosis: brake pressure (%) and steering angle, overlaid by distance on track, not by time. Time hides exactly where the brake curve changes slope.
- Release start point: mark where brake pressure begins to drop — it should coincide with, or come just before, the point where steering begins to increase.
- Slope of the drop: a smooth, continuous ramp is the target; any step in the brake trace signals a manual adjustment, not proportion.
- Zero-brake point: compare it with the pre-apex maximum steering point — if the brake reaches zero well before peak steering, there was unused braking time left over.
Without this distance-based comparison, any trail braking adjustment turns into uncontrolled trial and error.
Common mistakes and how to spot them in the trace
Most drivers in this iRating range already know how to release the brake gradually. The problem isn’t releasing slowly or quickly — it’s releasing out of sync with the wheel.
| Symptom on track | Likely cause in the data |
|---|---|
| Rear gets loose when turning | Brake still high when steering has already increased |
| Car won’t turn, mid-corner understeer | Brake released too early, before steering increases |
| Instability even with a “smooth” trail | Stepped release instead of a continuous ramp |
The third case is the most common among experienced drivers. The driver releases the brake consciously, but in two or three stages — and each stage is a small, abrupt load transfer that the car feels.
How it changes by car and by track
A rear-engined car with little downforce needs a shorter, more cautious trail: weight transfer already favors the rear, and any leftover brake pressure on corner entry reduces front load even further. A high-downforce car tolerates a longer trail in fast corners, because aerodynamic load sustains front grip even with a larger steering angle.
A constant-radius corner calls for a relatively early release — steering stabilizes quickly and there’s no reason to hold residual brake. A decreasing-radius corner demands the opposite: steering keeps increasing until close to the apex, so the brake needs to follow that curve for longer.
Good trail braking isn’t about braking late or releasing fast. It’s about releasing at the same rate the steering asks for grip — no steps, no leftovers.
- 1Full braking
Maximum pressure, steering still at zero.
- 2Turn-in start
Steering begins to increase, brake starts its drop ramp.
- 3Trail
Brake drops at the same rate steering increases.
- 4Apex
Brake reaches near zero when steering hits its peak.
- 5Exit
Steering decreases, throttle replaces residual brake.
Tomorrow’s training: step by step
This isn’t solved by thinking mid-corner. It’s solved with controlled repetition and data comparison, corner by corner.
- Pick a reference corner: prefer a decreasing-radius or double-apex corner, where a proportion error costs more visible time.
- Record a baseline lap: without trying to adjust anything, just drive the corner the way you normally would.
- Overlay brake and steering by distance: identify whether release starts before, after, or together with the increase in steering.
- Make one adjustment at a time: if the release is too early, hold more residual pressure until steering increases; if it’s too late, bring the drop-off forward.
- Compare the corner’s split time, not the whole lap: a proportion adjustment might not change total lap time if another section compensates for the error.
Repeat this cycle for three or four sessions before switching corners. Release proportion is a motor habit — it doesn’t change in a single lap.
When the adjustment doesn’t work
Sometimes a driver corrects the proportion in the sim and lap time doesn’t drop. Before dismissing the technique, check two things: whether the brake setup (bias and pedal curve) is compatible with the car, and whether the tire is already degraded enough to shift the grip limit mid-session.
A brake bias set too far forward, for example, makes the front lock up before any proportion error from the driver — and in that case the problem isn’t technique, it’s car setup.
How Laptics helps with this diagnosis
Laptics automatically records telemetry while you drive in iRacing, Assetto Corsa, ACC, Gran Turismo 7, or F1 25, with no need to manually export anything. The AI analysis compares your laps phase by phase through each corner and shows exactly where brake release cost time relative to the reference.
Driver DNA helps identify whether this stepped-release pattern repeats across several corners — which changes the diagnosis from “one-off mistake” to “habit to fix.” From there, the training is yours; the tool only points out where to look.
Practical summary
Efficient trail braking is about synchronization, not release speed. Compare brake pressure and steering angle by distance, look for steps in the trace, and adjust one point at a time on a reference corner before generalizing it to the whole track.
Frequently asked questions
Does trail braking work for every type of corner?
No. Constant-radius corners usually call for an earlier release, while decreasing-radius corners require holding residual brake longer, following the steering until close to the apex.
How do I know if I’m releasing the brake too fast?
If the brake reaches zero well before peak steering in the corner, there was unused braking time left over. Compare both channels by distance in the telemetry to confirm.
Does brake bias affect release proportion?
Yes. A bias set too far forward makes the wheel lock up before any proportion error from the driver, which can mask the diagnosis.
Does trail braking change as the tire wears?
Yes, the combined grip limit drops as the tire degrades, so the proportion that worked at the start of the stint may need adjusting by the end.
Can I train this without telemetry?
You can, but progress is slower because the driver relies only on feel. Seeing the overlaid brake and steering traces speeds up finding the exact point of the error.
Do rear-wheel-drive cars need a different trail?
They generally need a shorter, more cautious trail, because weight transfer already reduces front grip in these cars, especially with a rear-mounted engine.
Does Laptics adjust the brake setup for me?
No. Laptics automatically records and analyzes telemetry, showing where the release costs time, but setup adjustments and execution remain up to the driver.
Want to see this in your own telemetry?
I want to analyze my laps